Repairing a wine chiller
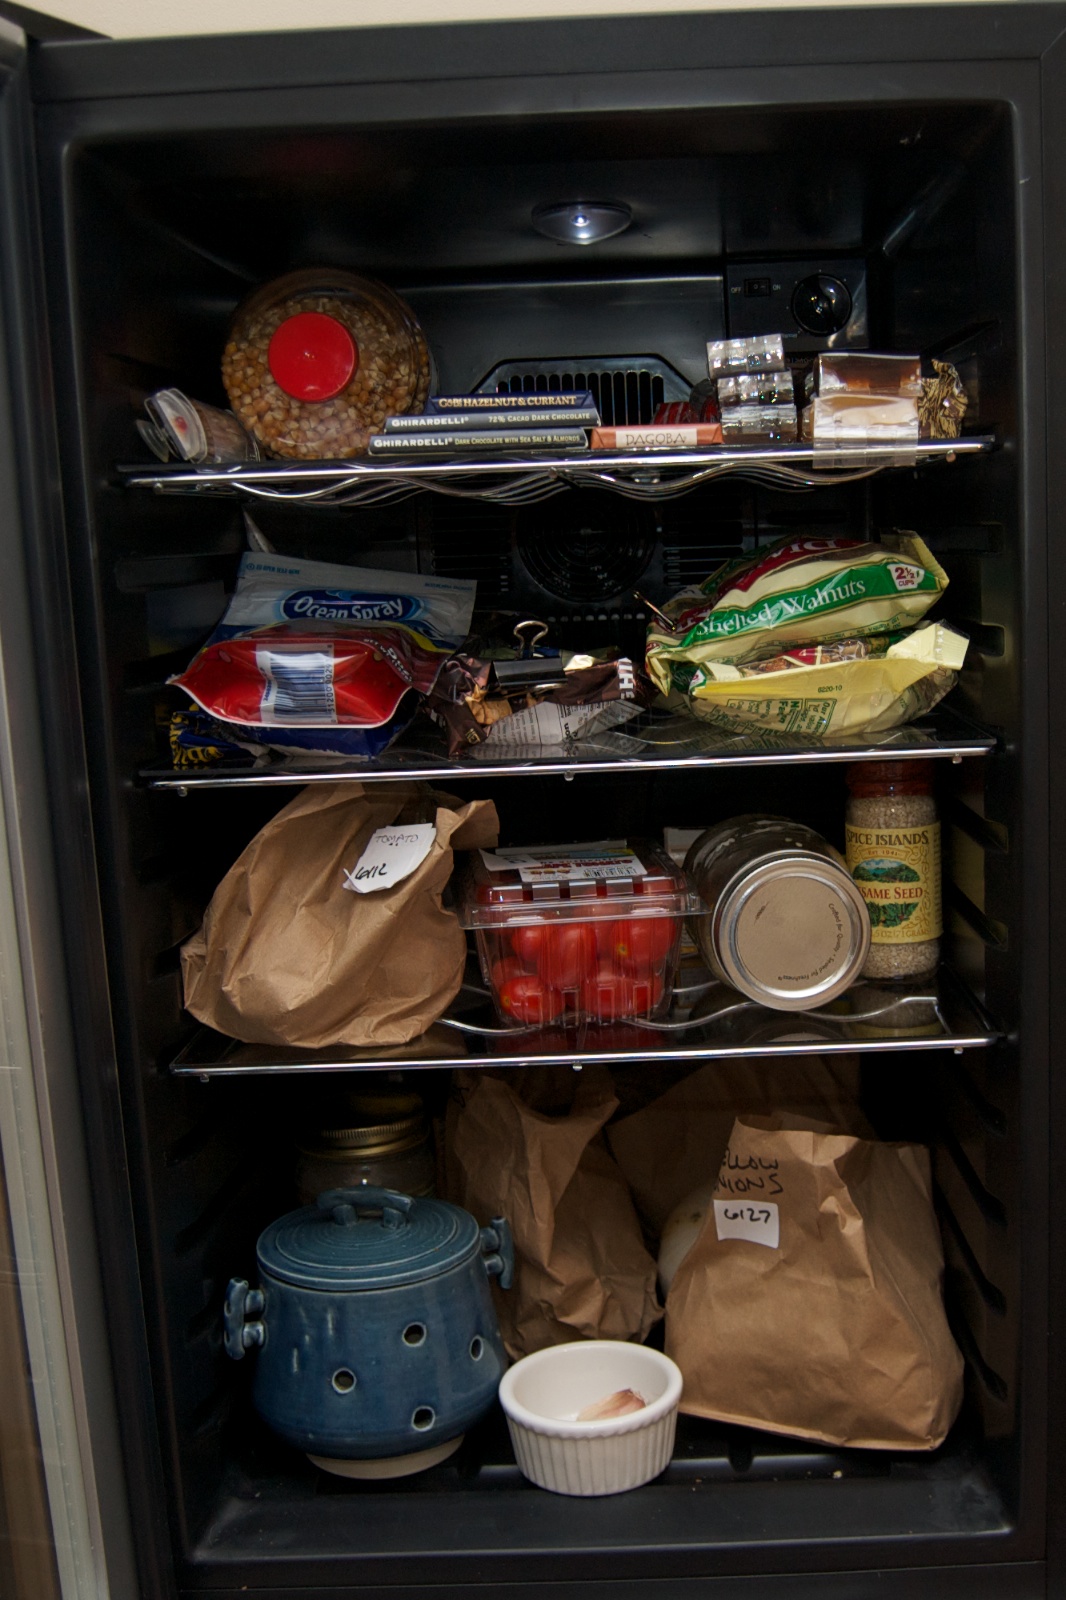
I have two of these Edgestar 28-bottle free-standing thermoelectric wine chillers. One has wine, the other I use as cool food storage. It usually stays around 55°F and is perfect for things like onions, potatoes, tomatoes, chocolate and other things that like it cool, but not cold. It works like a root cellar.
The one with food failed. I suspected something was wrong for a few days, but one day I opened it and it was decidedly warm, moist, and musty. Not good! I lost four onions and some basil :-(.
While there is a repair number on the back plate, it's a weird item to repair. It's way too large and heavy to mail off for repair, but it's inexpensive enough that I can't imagine sending a repair person out can be cost-effective. A new one costs $ 230, with free shipping! I think this one is at least 6 years old, but it's still in good condition and I hate to just throw it out.
Plus, I have three custom-cut plexiglass shelves that fit perfectly over the wine rack shelves so the food doesn't fall through.
Since I had nothing to lose I set out to repair it myself. How hard could it be?
Update: In this post, I replaced the Peltier because the fan and lights still worked, but there was just no cold. There is another post where I replace the power supply/logic board . And also one on replacing the exterior fans .
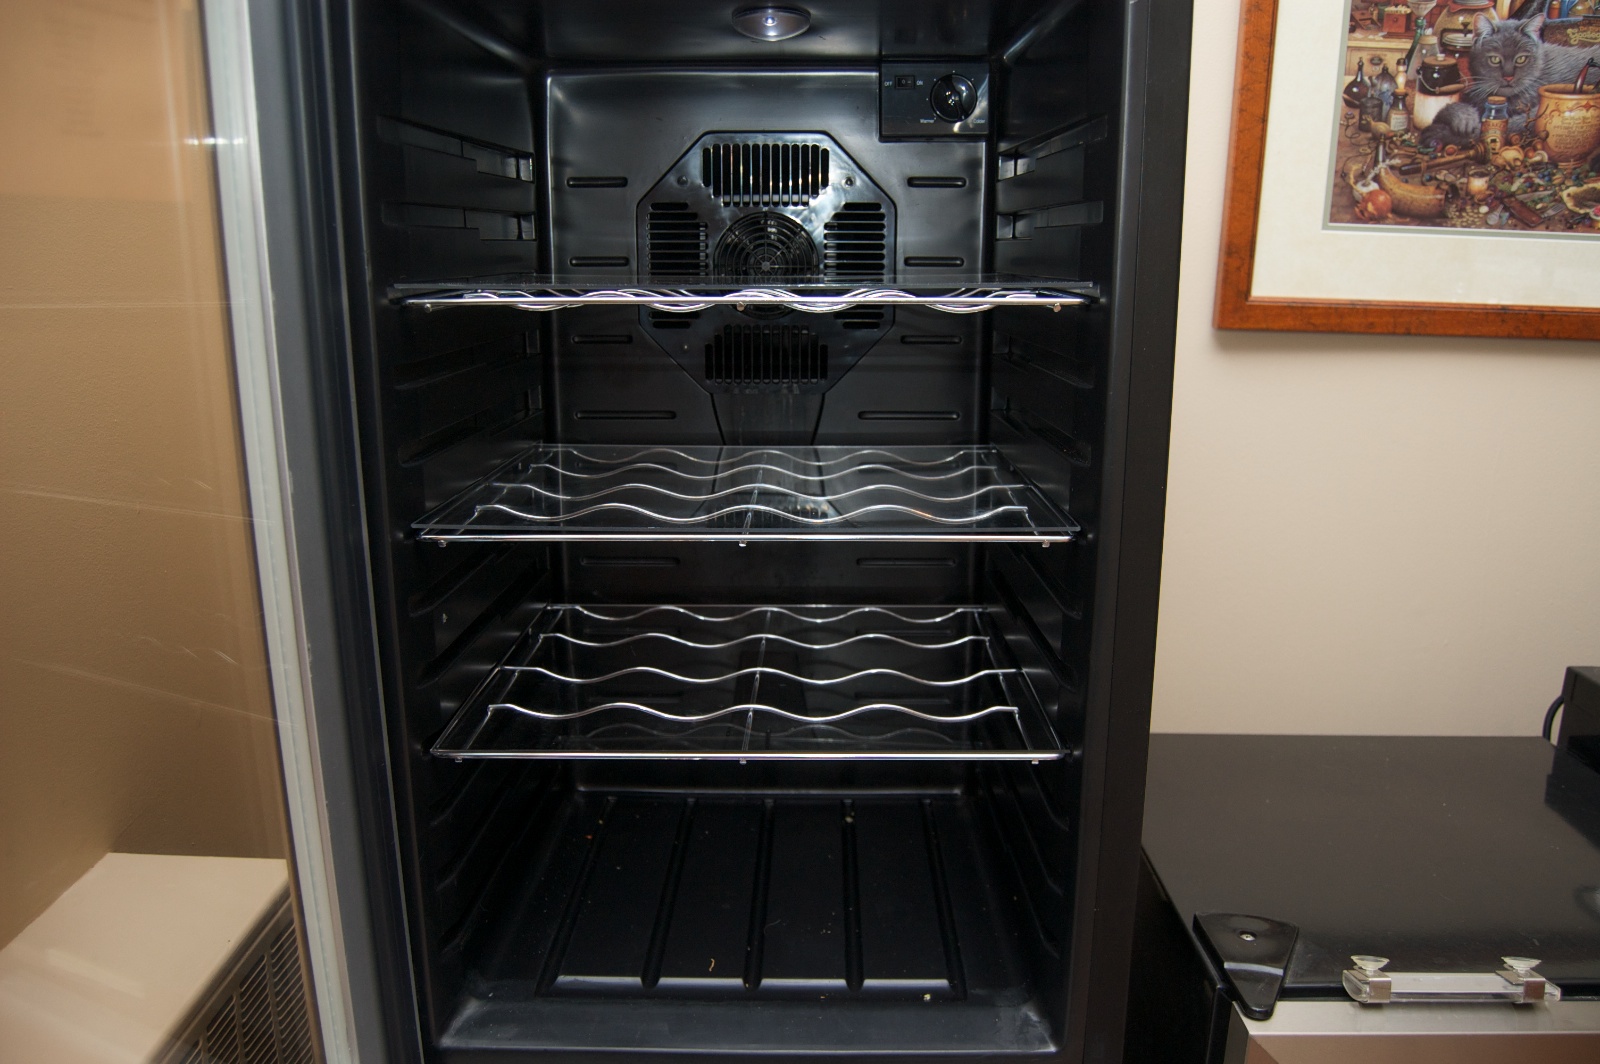
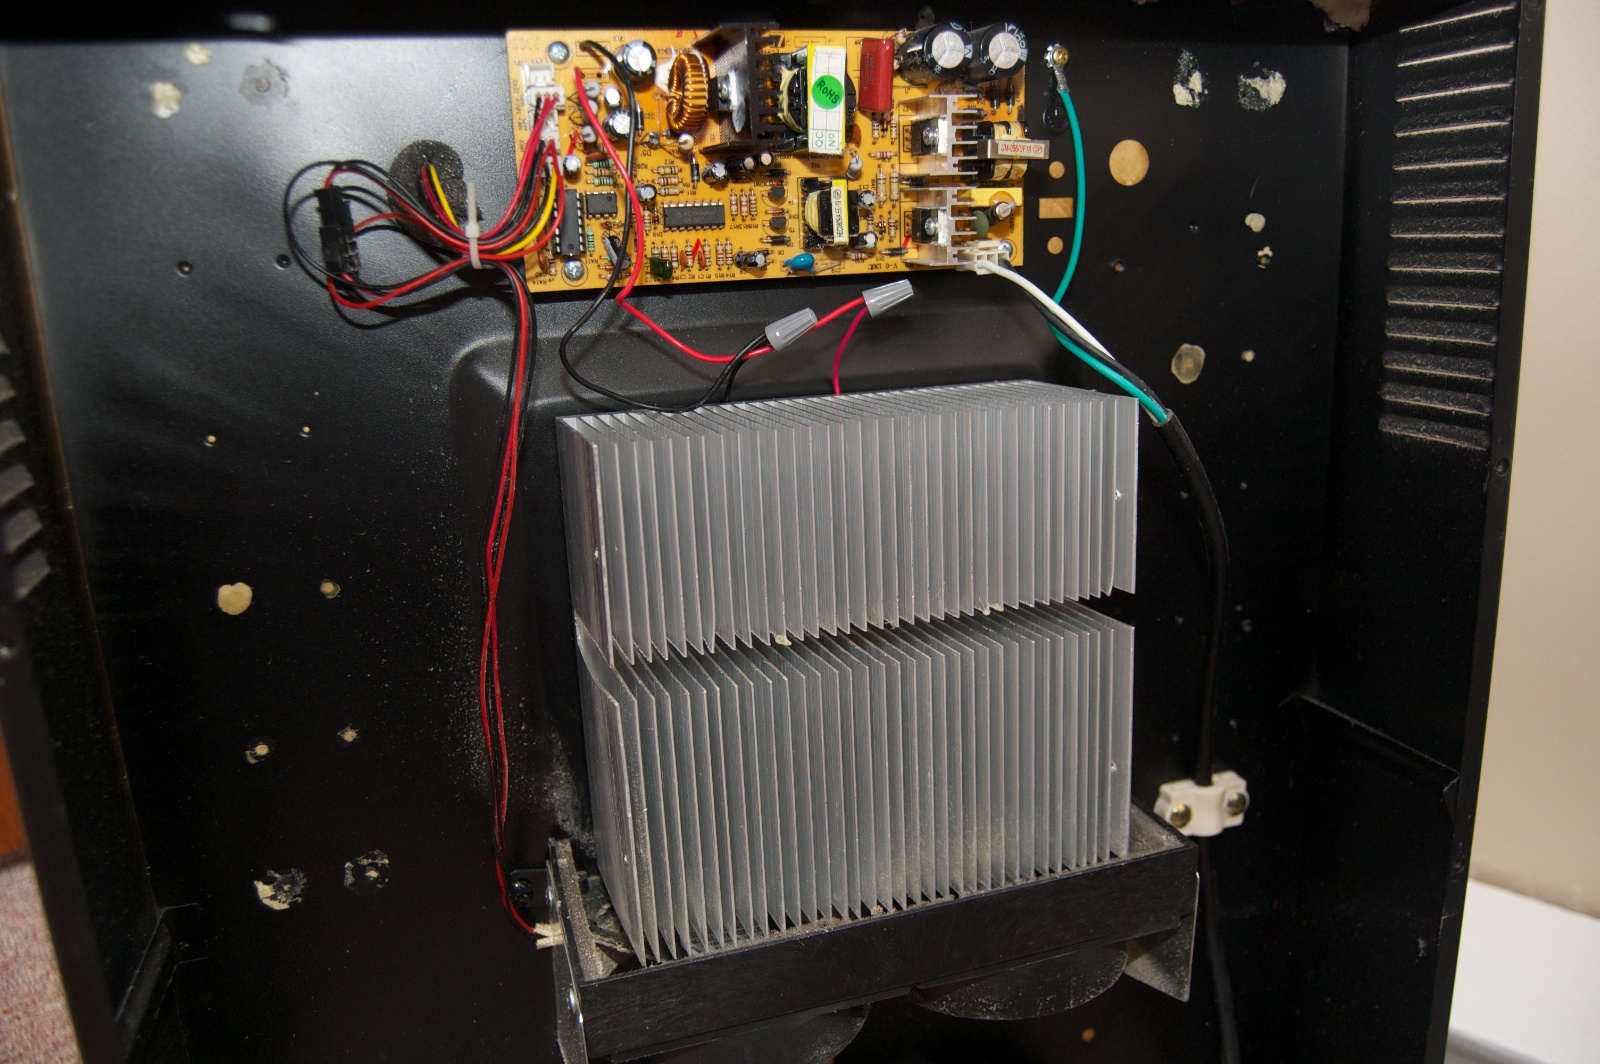
There are a pile of screws holding on the back panel. Removed.
All of the fans were working. There are 3 of them. The front fan on the other chiller, the one with wine, broke and I had previously replaced that. It's easy and you can do it from the front.
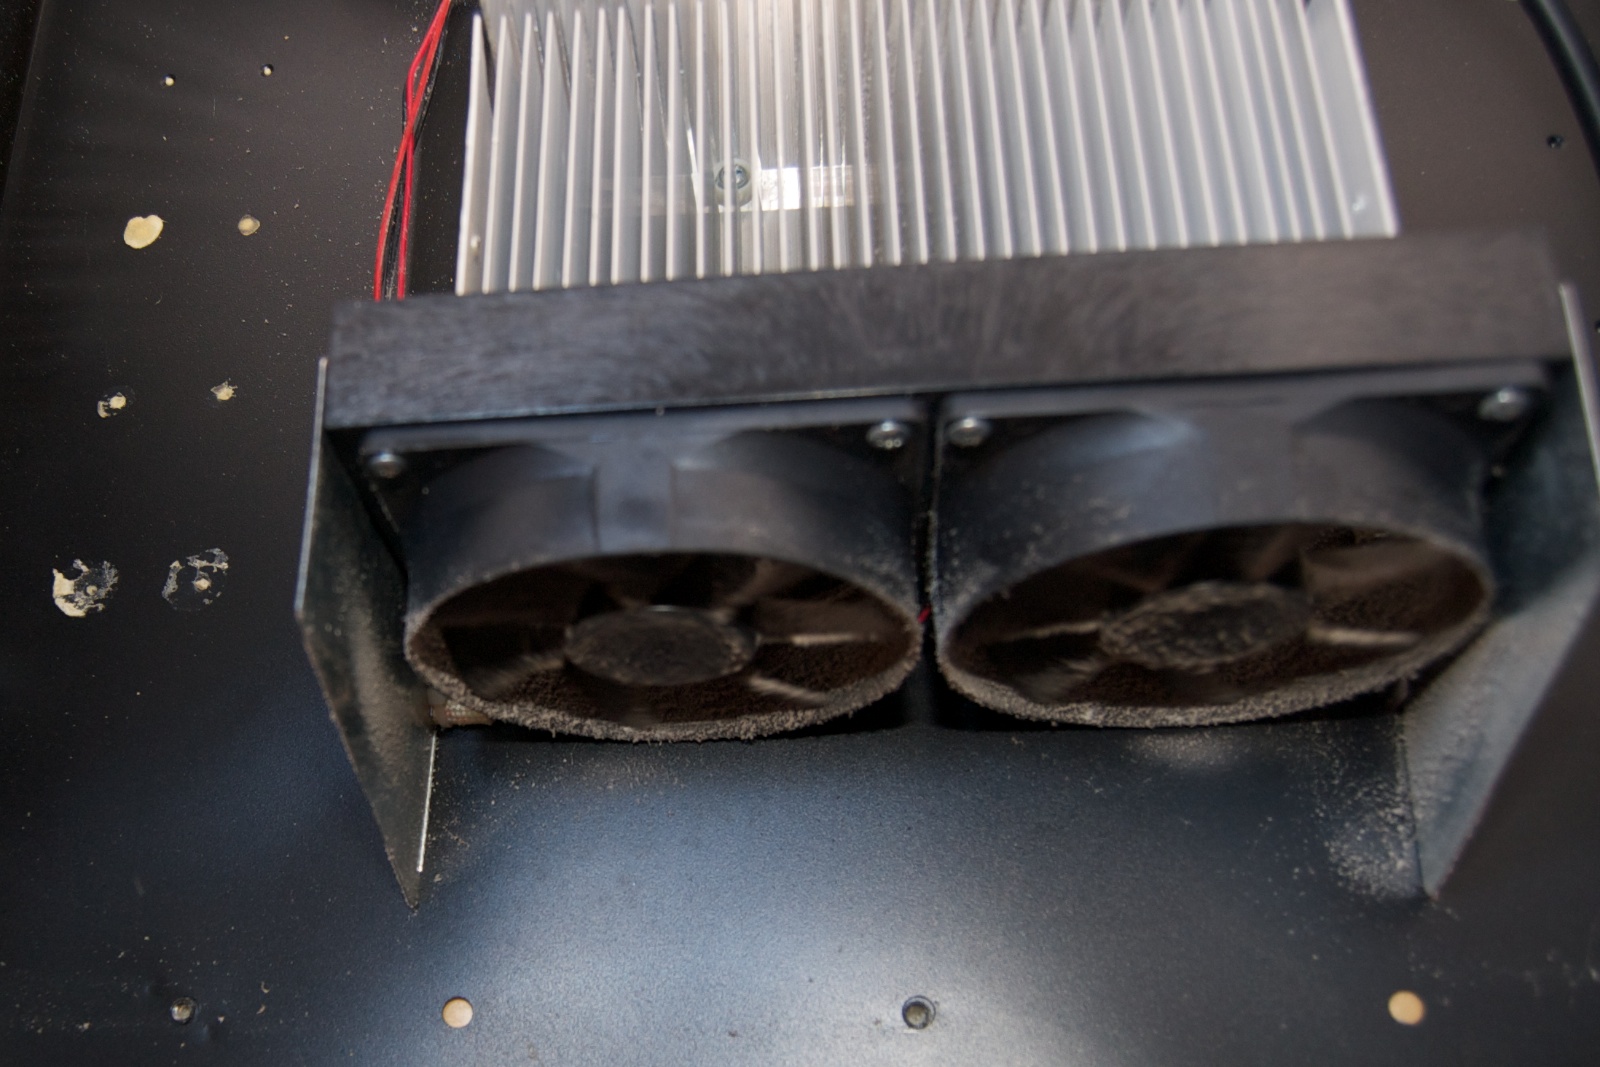
Once you remove the back cover you can see that there are two more fans on the outside. I did not know that! All of the fans are inexpensive 12 VDC computer-type fans and can inexpensively replaced if needed.
Tracing the wires I found the wires that go to the Peltier chilling unit. I stripped back a little insulation from the wires and put a volt meter on them. 12.2 VDC. This was good, because I needed to know the voltage of Peltier, and also to make sure the power supply and thermostat were working. It almost certainly was the Peltier. I didn't take a picture at the time, but I'll point out the wires to check later.
A quick search on eBay found a new, genuine, Edgestar/Koldfront Peltier for $ 57. That seemed very expensive, especially since there was a possibility that this wouldn't actually fix the problem. Maybe if I take it apart further I can substitute a generic unit.
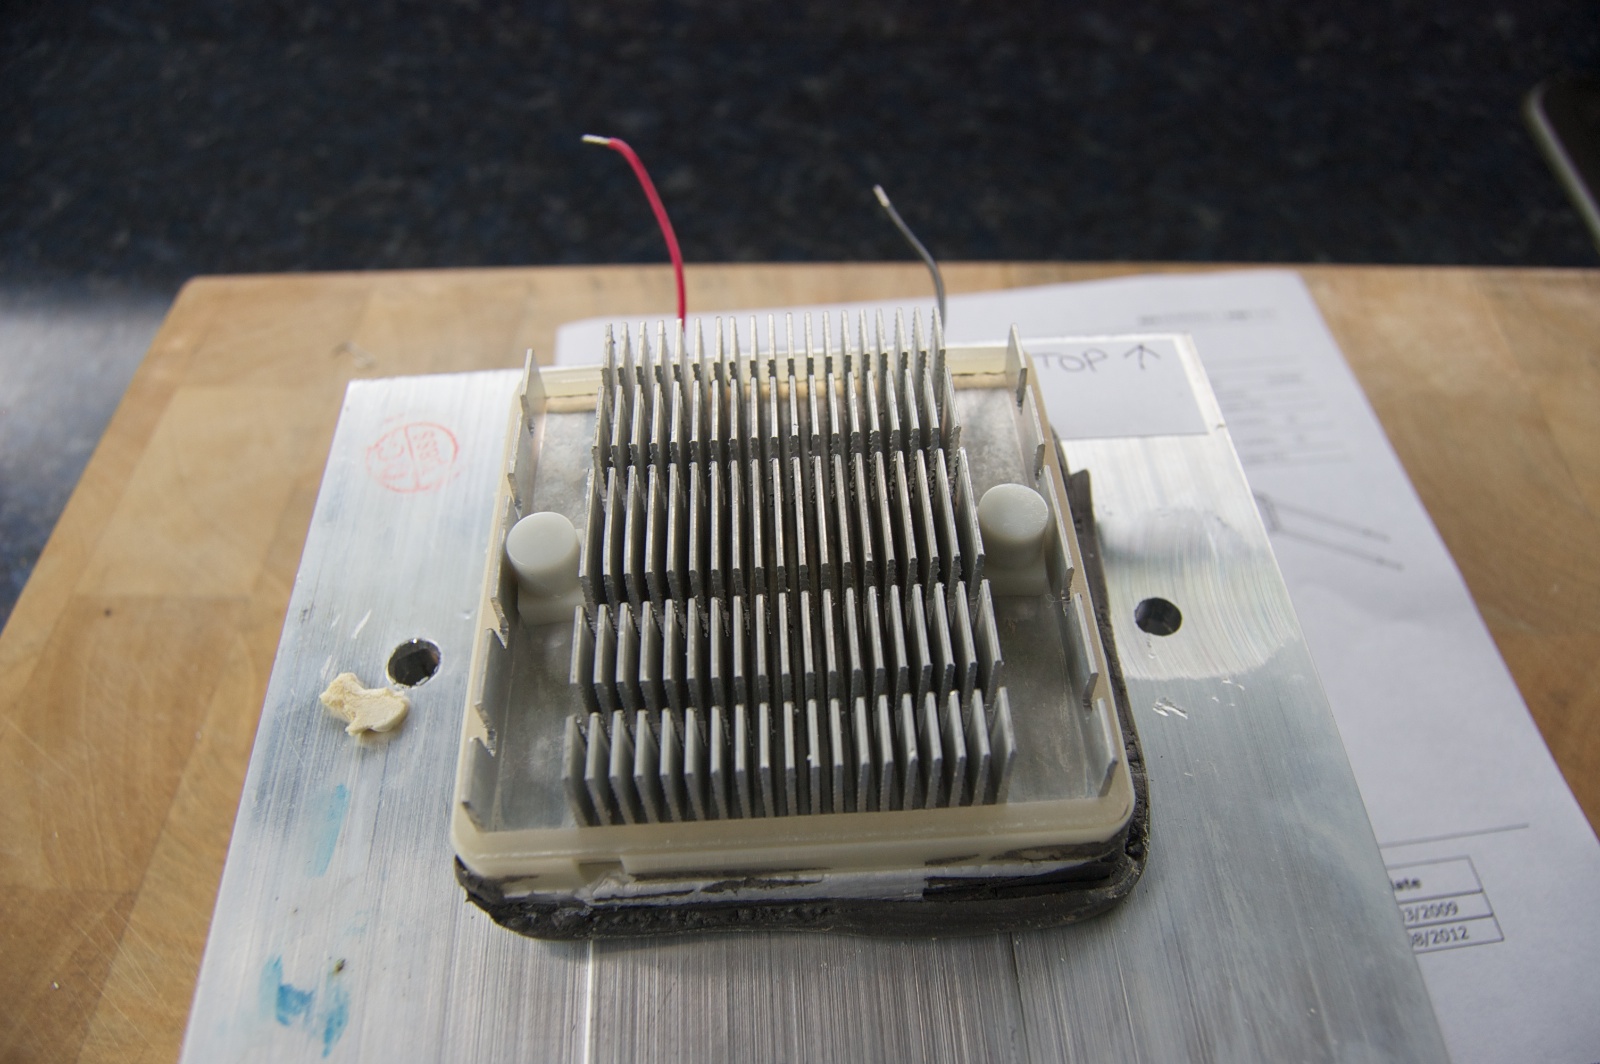
Removed the heat sink back cover (black cover on the silver thing). Two screws on each side, easy.
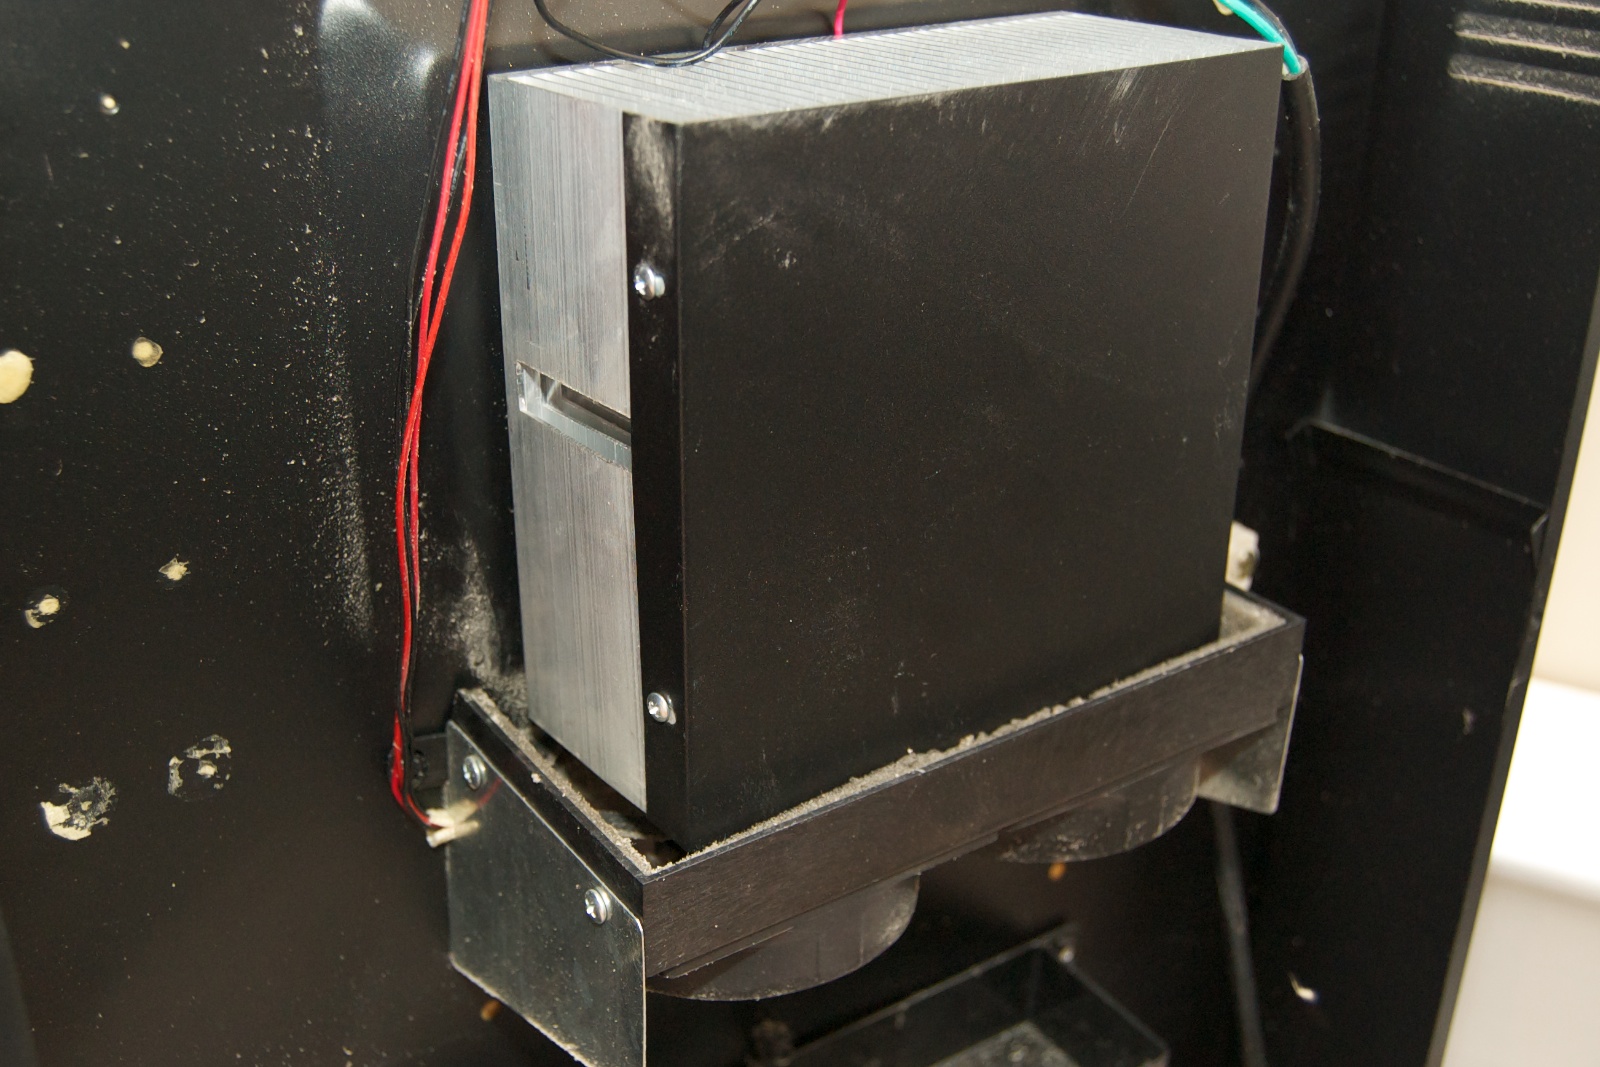
There are two screws in the gap in the middle of the heatsink holding it to the chassis. The unit pokes through the back wall of the chiller so you need to pull straight back. And at this point, I clipped the wires to the Peltier at a convenient location a couple inches from the heatsink to splice them back together later.
On the outside heatsink next to the chassis screws were a couple big blobs of sealant with screws under it. I removed the sealant and unscrewed the screws and that did it - it separated the little heatsink (inside the chiller) with the great big heatsink (in the back). And, sandwiched in between, the Peltier!
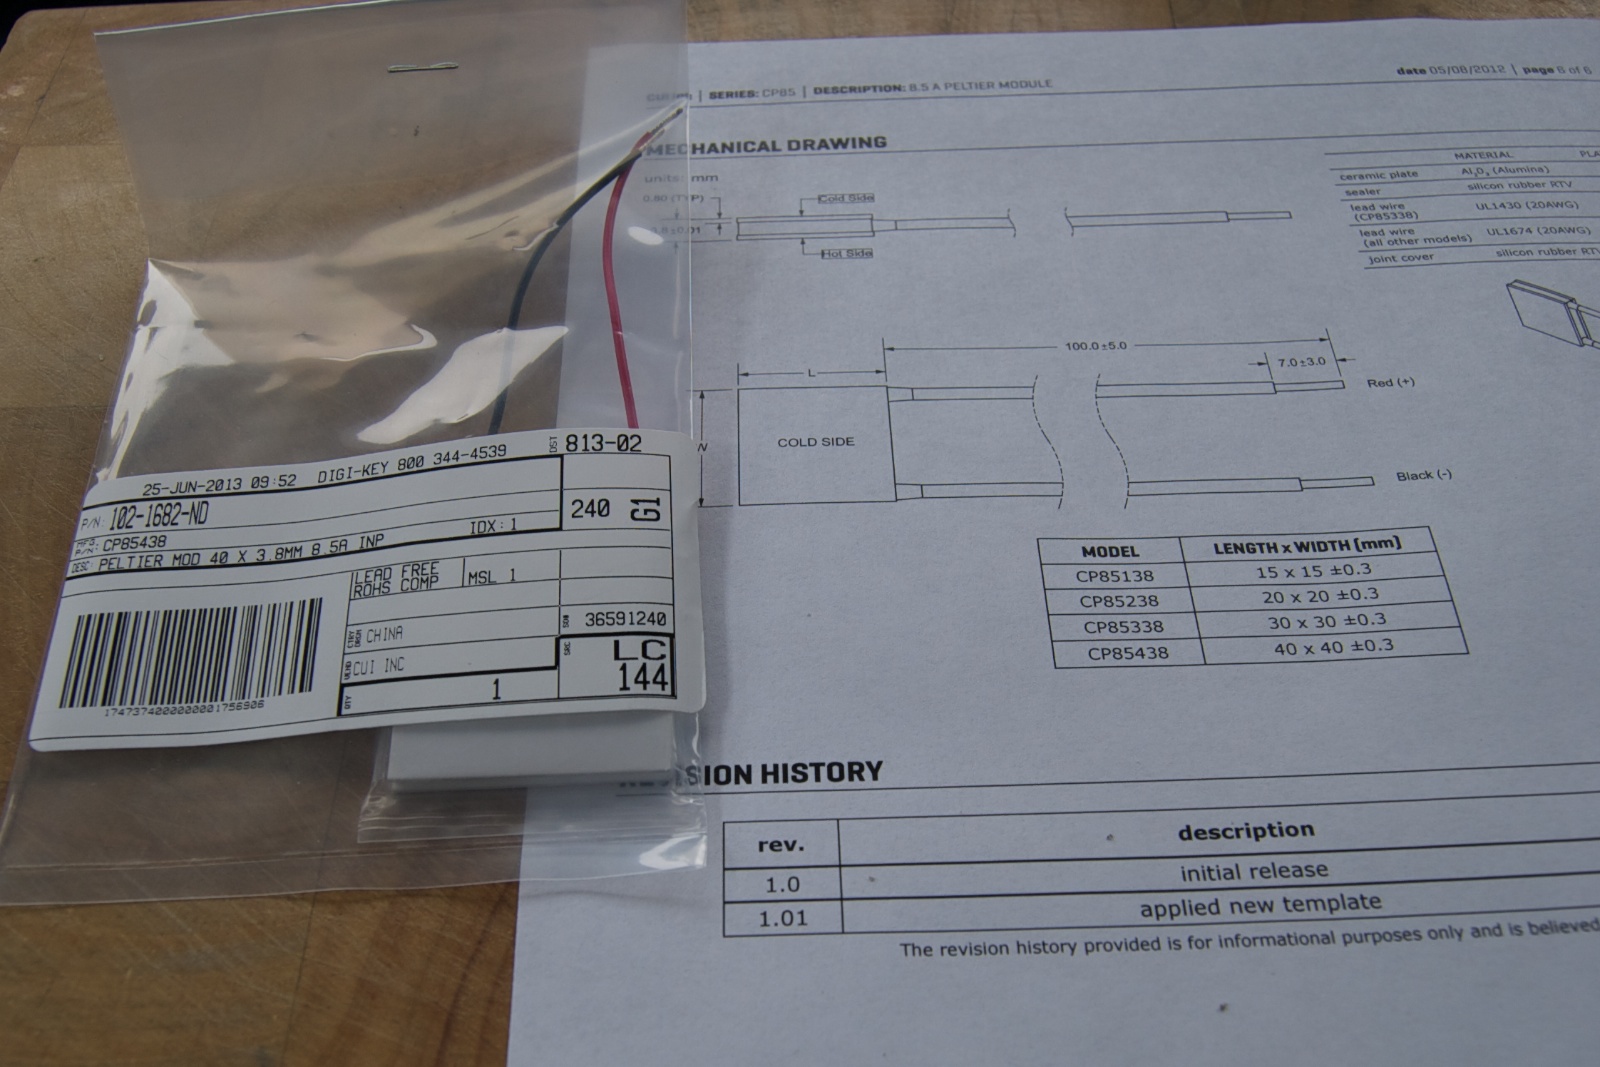
It's about 1.5 inches square. A quick search on Digi-Key found what looks like a good replacement : 40mm x 40mm x 3.7mm 8.5A at 15.4V for $ 15.38. The data sheet shows that it runs correctly at lower voltages, consuming less current, though making less cold. I'm willing to spend $ 19 (with shipping and sales tax) and possibly fix it!
At least on the east coast, if you order something that fits in a tiny envelope from Digi-Key, you can get the ridiculously cheap first class USPS postage and it still arrives in 2 to 3 days! I ordered it on Tuesday and got it on Thursday.
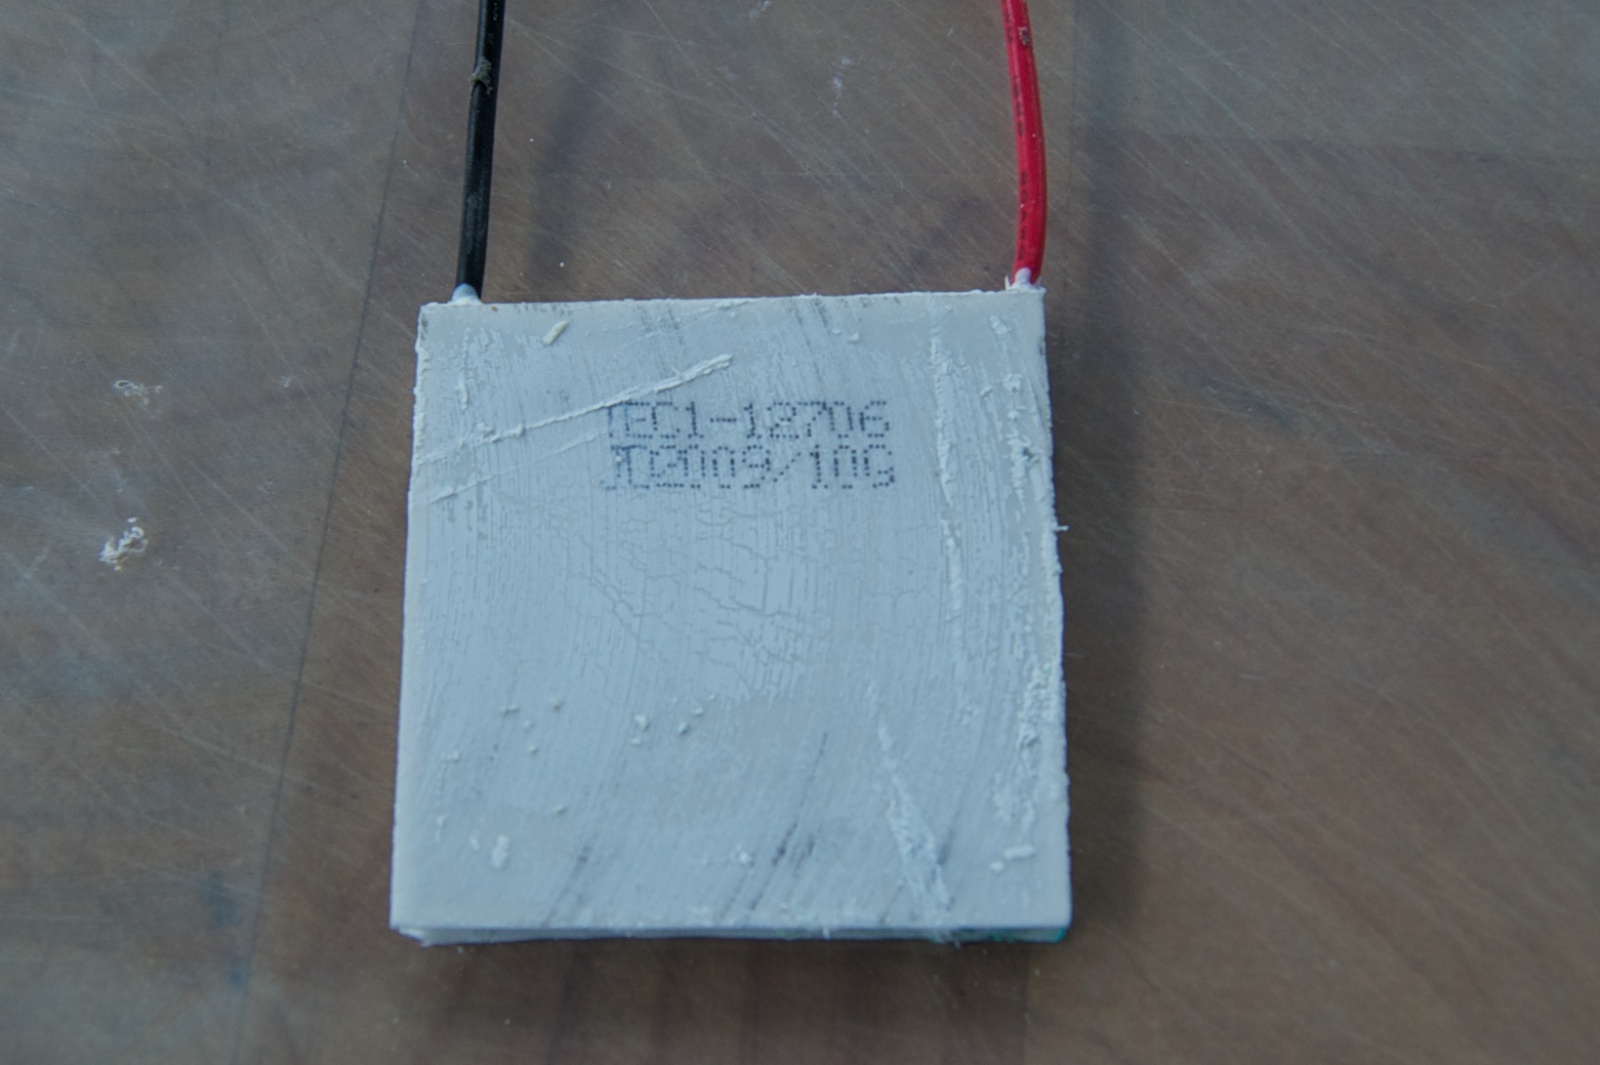
Actually, later on, I found this exact unit, a TEC1-12706 at Amazon for $ 8.99. It's 12V 92 watt. That would have worked too.
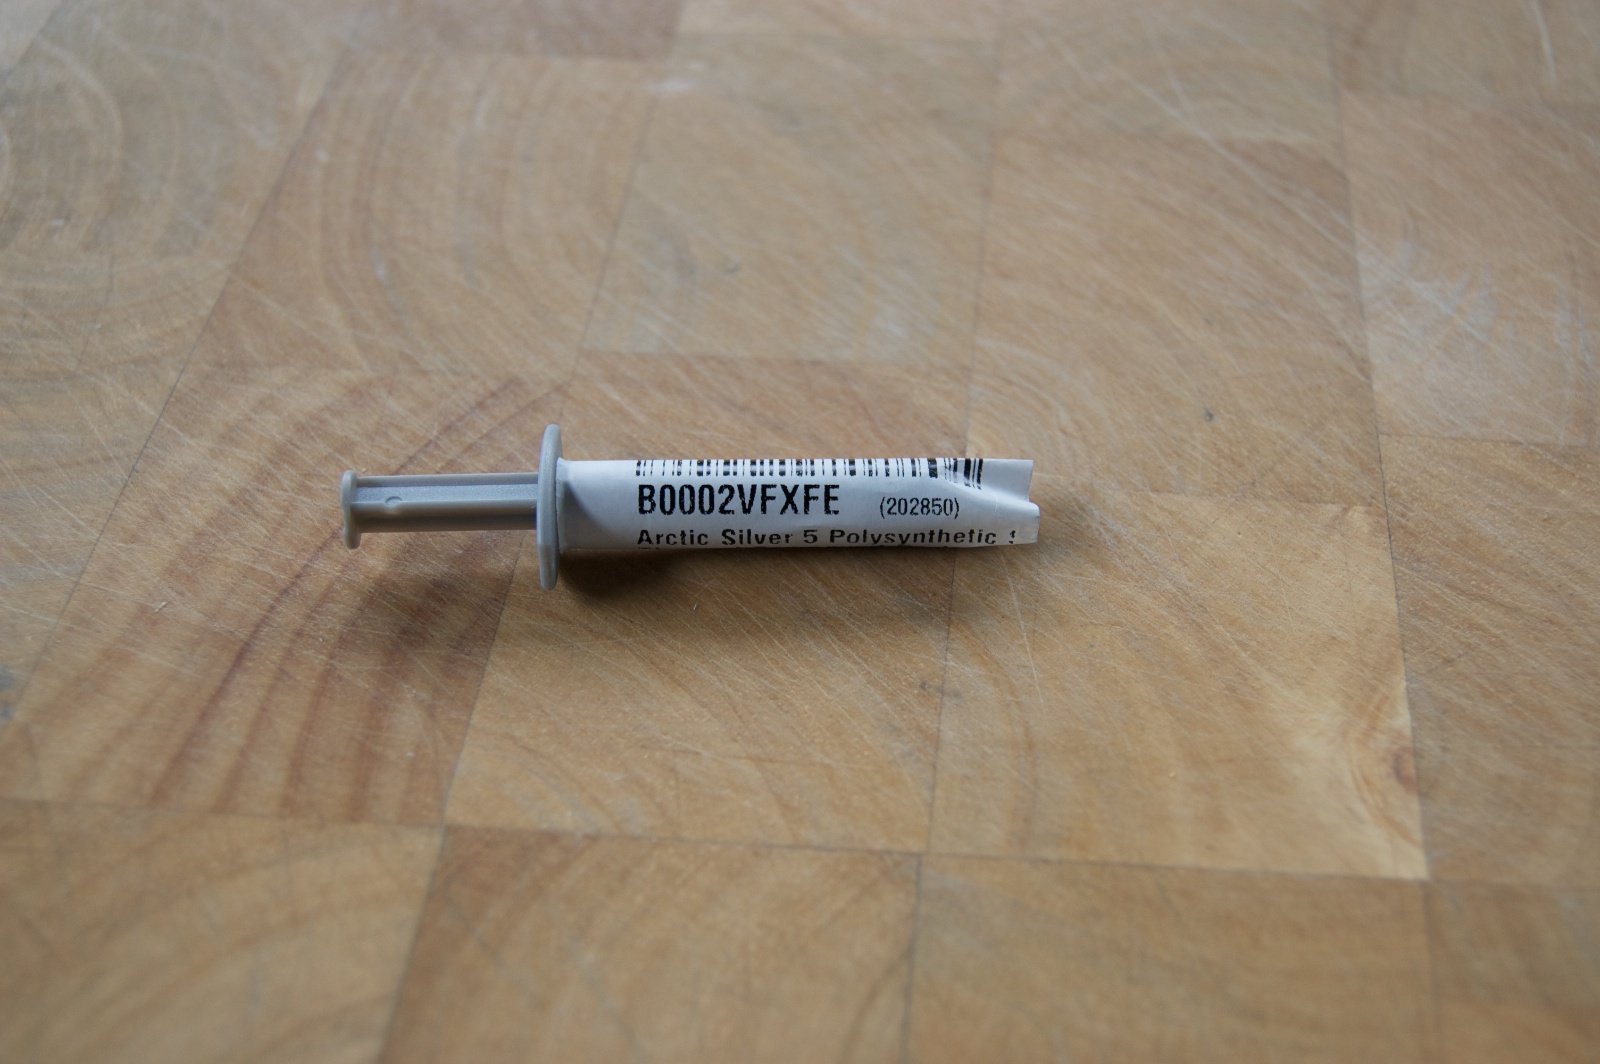
I also ordered some thermal compound , a.k.a. heatsink grease, to make sure there was a good thermal bond between the new Peltier and the heat sinks. It was $ 8.25 at Amazon. I also could have ordered it from Digi-Key, but I submitted the order before remembering that I needed it.
Here's the new chiller unit and its data sheet. Pay close attention to the cold side orientation. This one has the label and red and black wires opposite of the TEC1-12706! Putting it in backwards will make a hot box instead of a cold box!
Heatsink grease applied to both sides and the heatsink unit put back together. The little heatsink goes into the chiller unit, the big heatsink is in the outside back.
Chiller unit and heatsinks reinstalled. I used gray wire nuts to connect the leads of the new Peltier to the existing leads. The red and black wires with the gray wire nuts right under the circuit board are the ones to test to make sure the thermostat and power supply are functioning.
I tested it out, and after a few minutes the outside heat sink seemed warm and there seemed to be a cool breeze inside. After an hour it had dropped to 60°F inside. Success!
Here it is with my food in it again!