Repairing a wine chiller (part 2)
Previously I figured out how to replace a fan, and how to replace the Peltier chilling unit in an Edgestar wine chiller. I have two of them, and I think both are over 6 years old.
I also have a newer post on replacing the exterior fans .
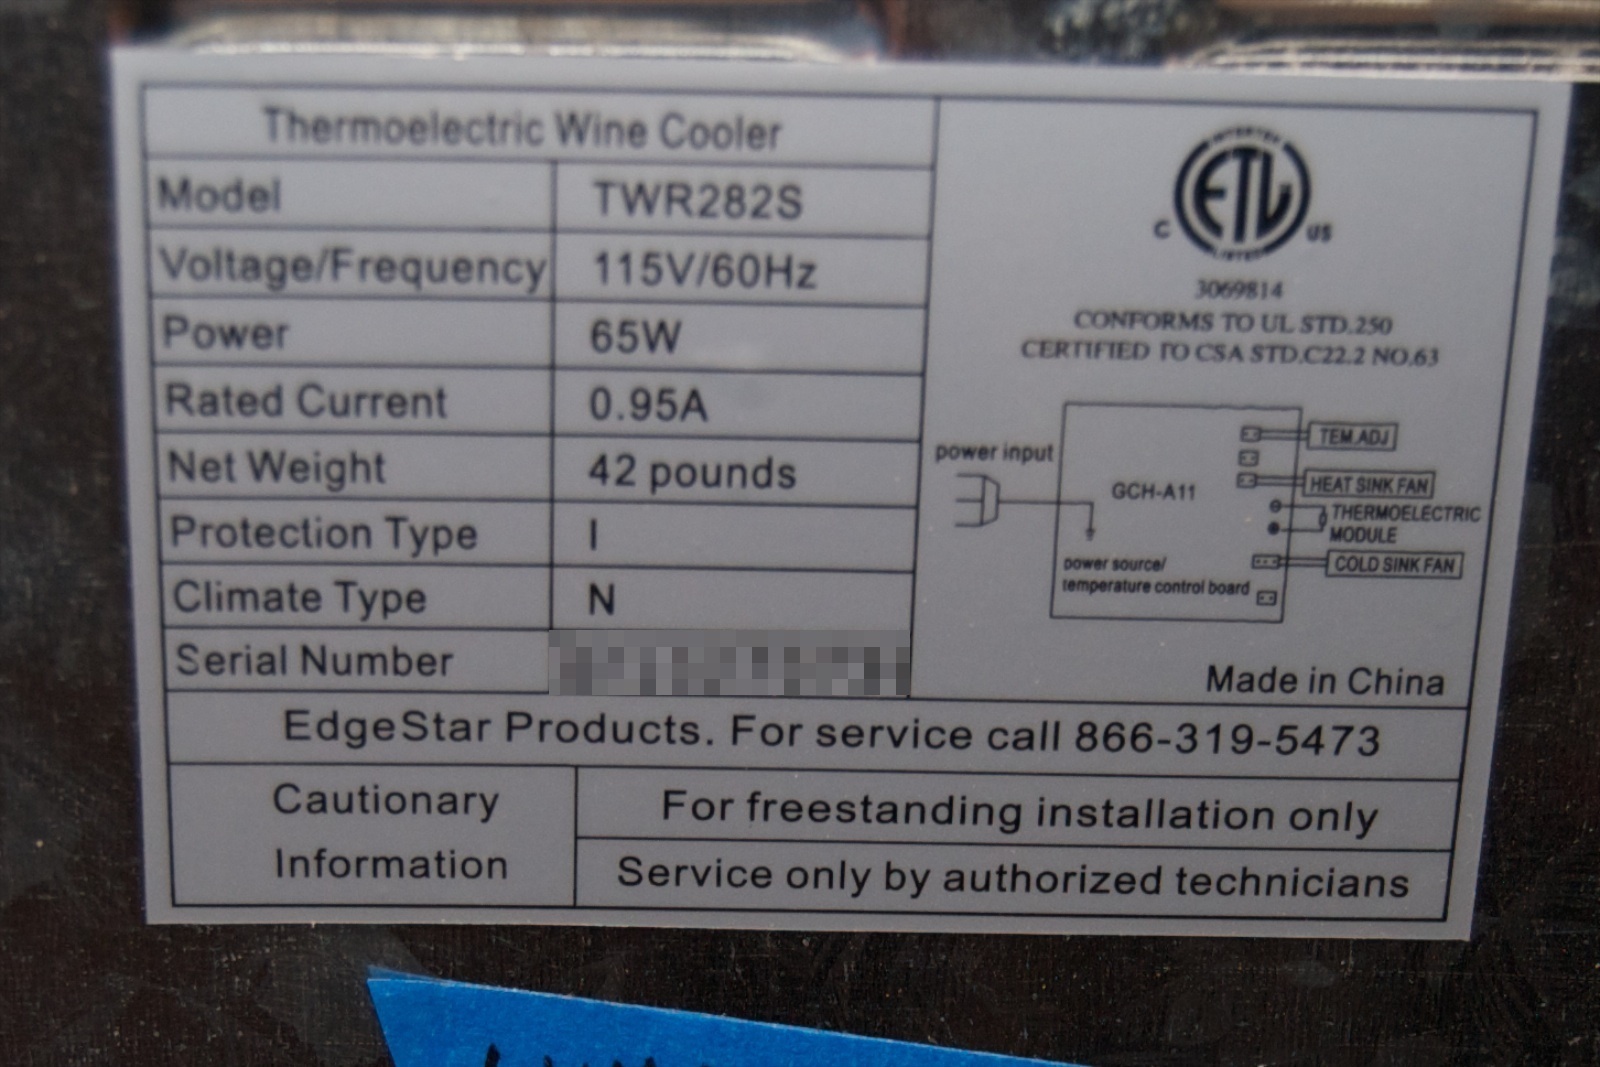
In one week, both of them failed completely - no chilling, no interior light, no fan sounds. Seemed like a power supply problem. According to the back panels I have two TWR282S. And, fortunately, the Edgestar web site has the replacement board . They're $ 48 with free shipping, more expensive than the generic fans and Peltier chillers, but much cheaper than buying a brand new unit for $ 230.
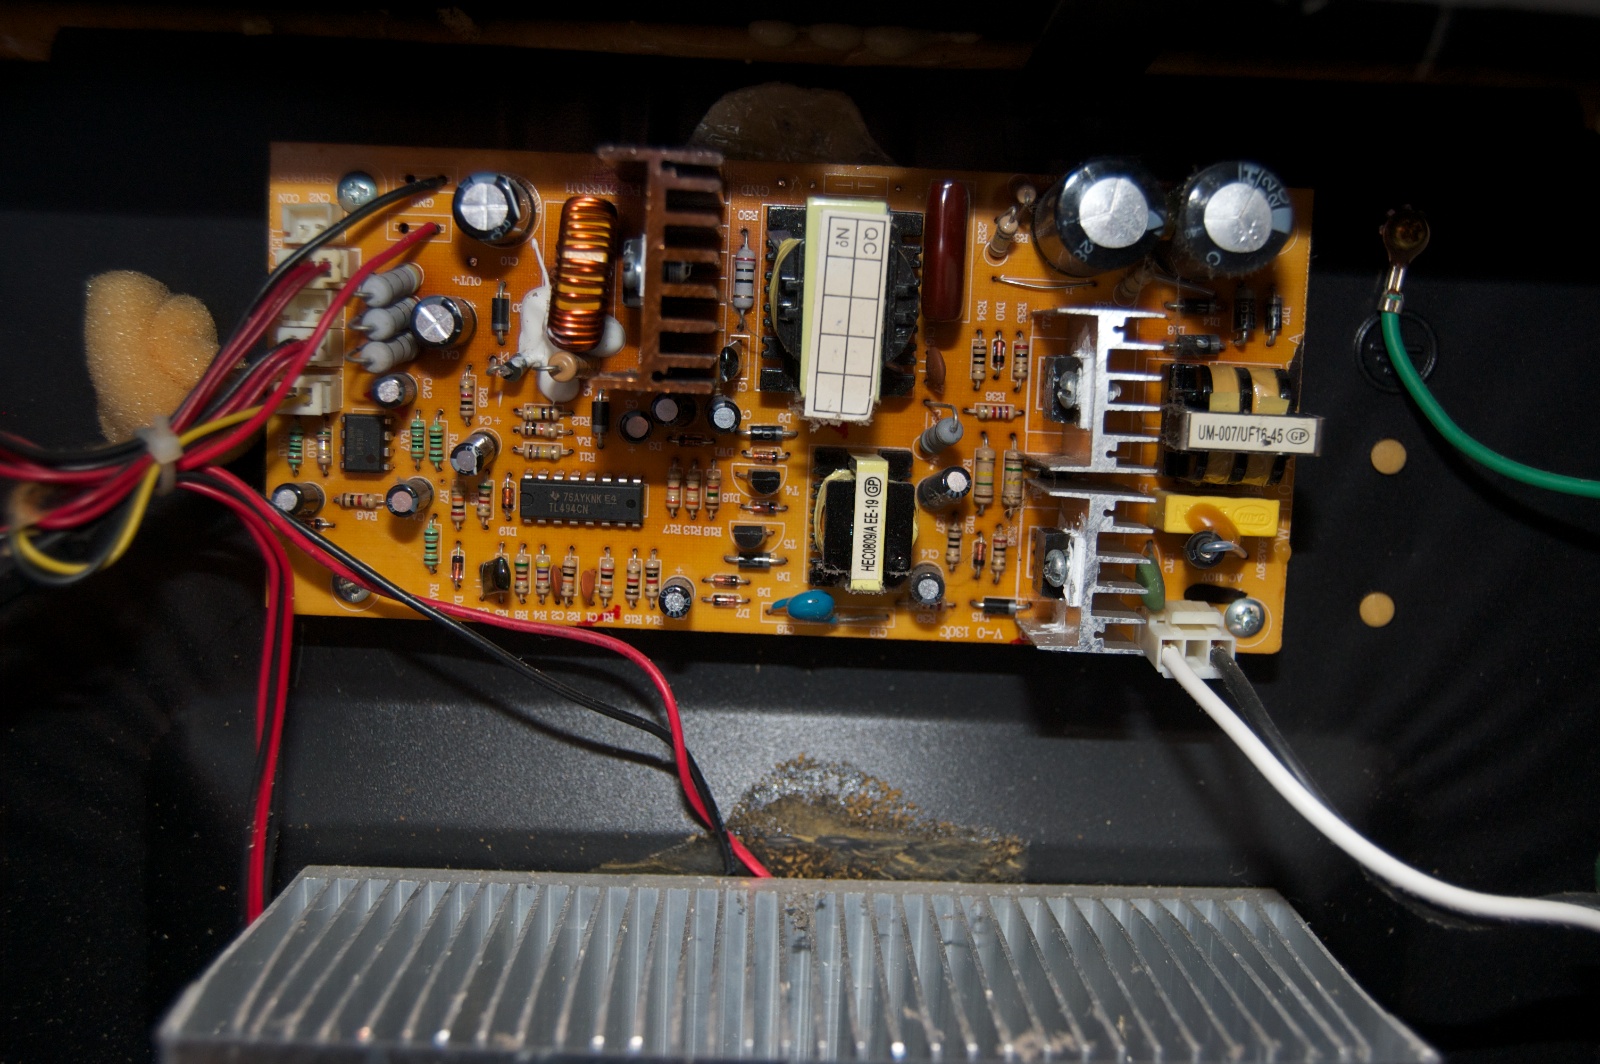
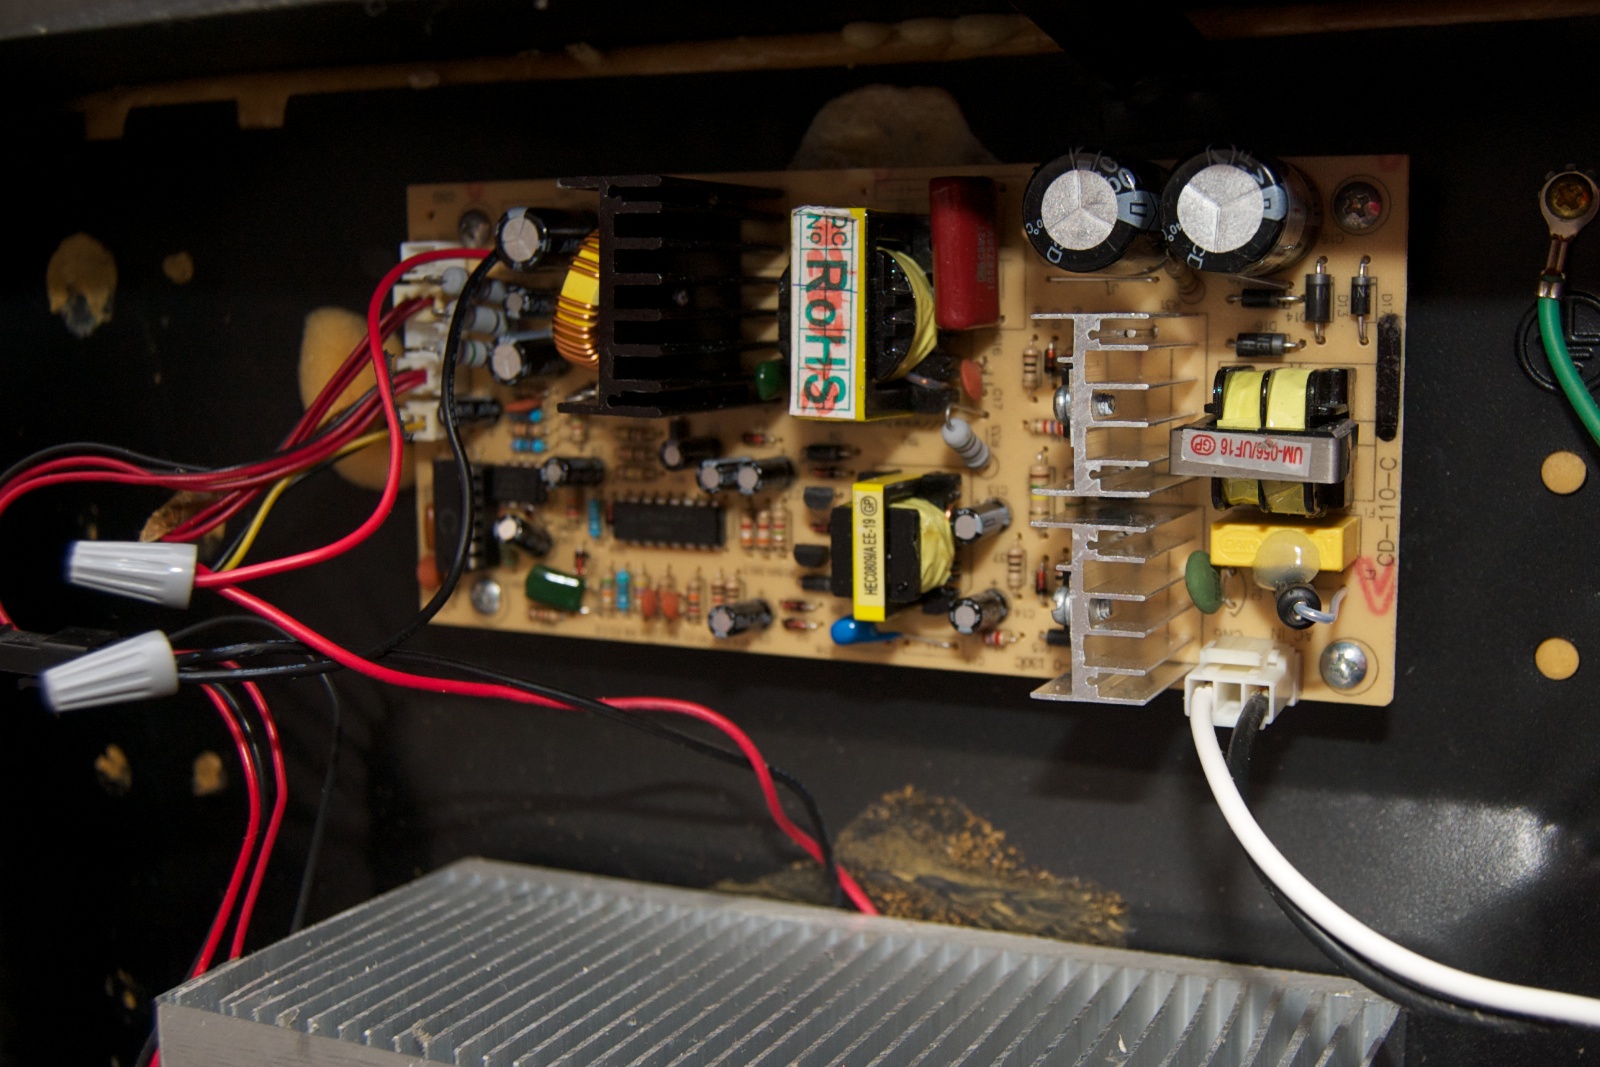
To remove the back panel, remove the pile of visible screws. Note that there are also screws in the recessed part at the bottom edge of the silver back panel. Once the cover is off you can see the power supply/control board above. There's high voltage on the control board, make sure you unplug the unit before removing the back cover.
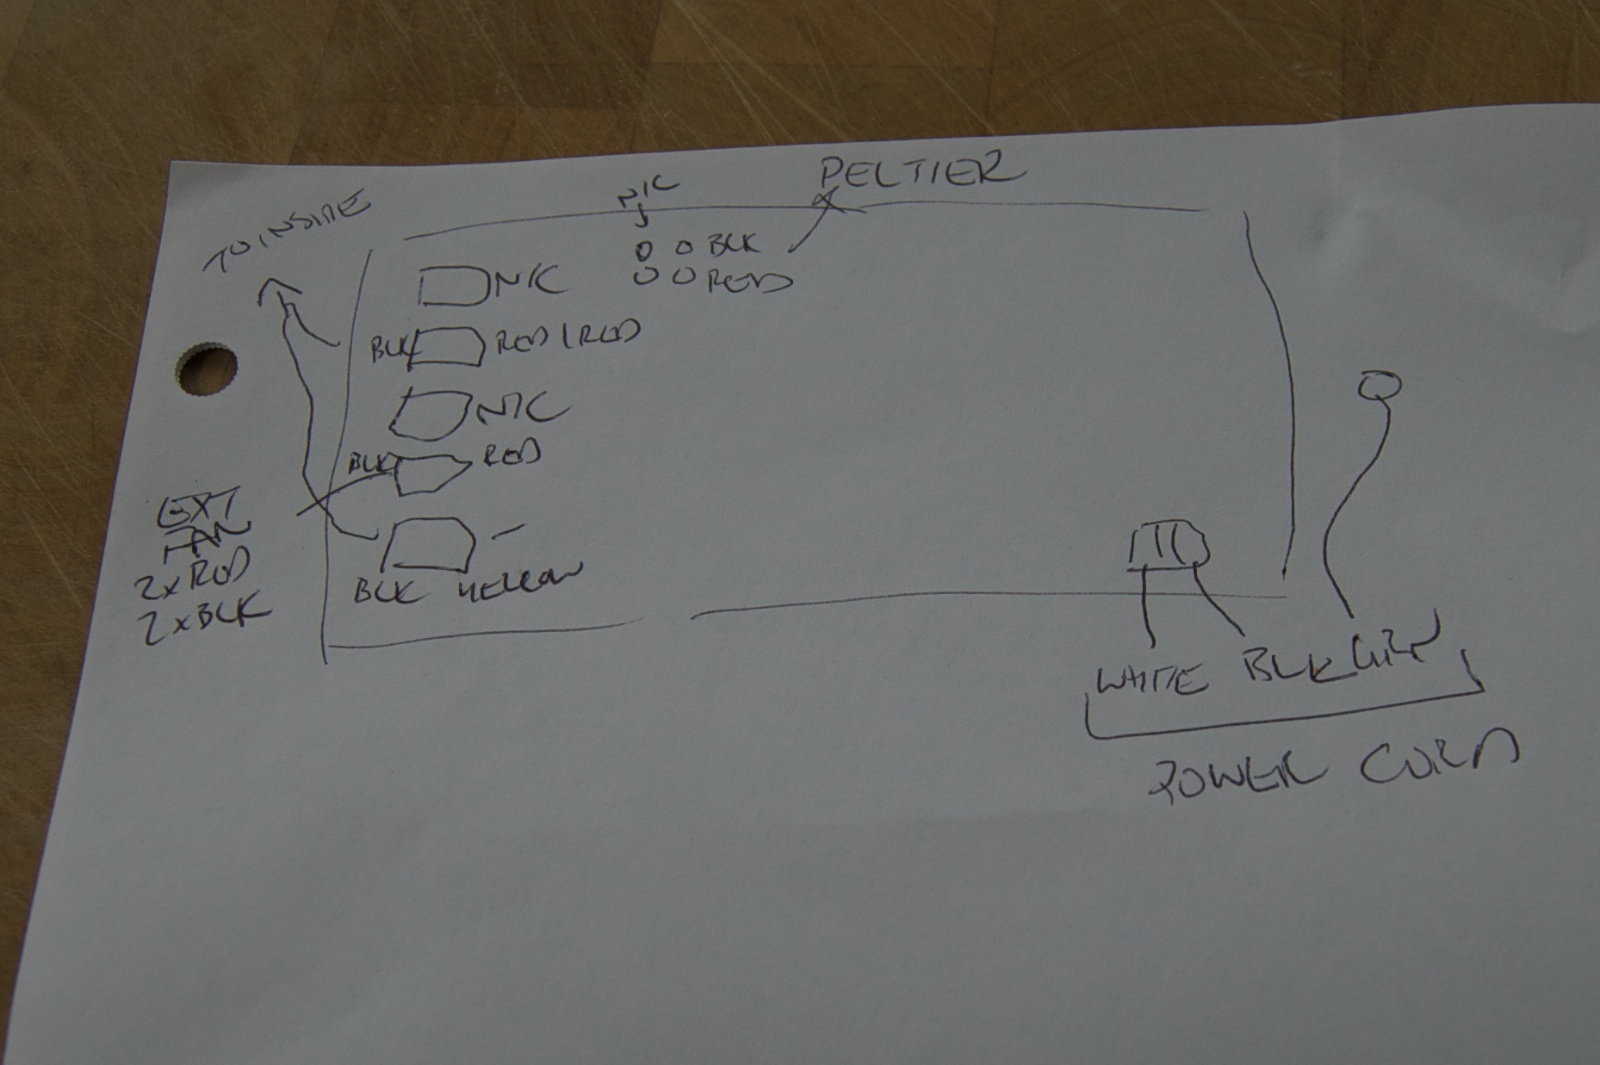
There are quite a few connections to the control board. It's probably a good idea to make a little diagram. Incidentally, the schematic on the back panel is upside-down. Well, actually, the board is mounted upside-down, so the thermostat wire (black/yellow) is actually the bottom connector on the board as you look at it from the back.
For reasons I do not understand, the red and black wires to the Peltier chiller unit do not have a connector on them. They're soldered directly to the board. Just clip off the wires close to the board because the new board does not have wires on it.
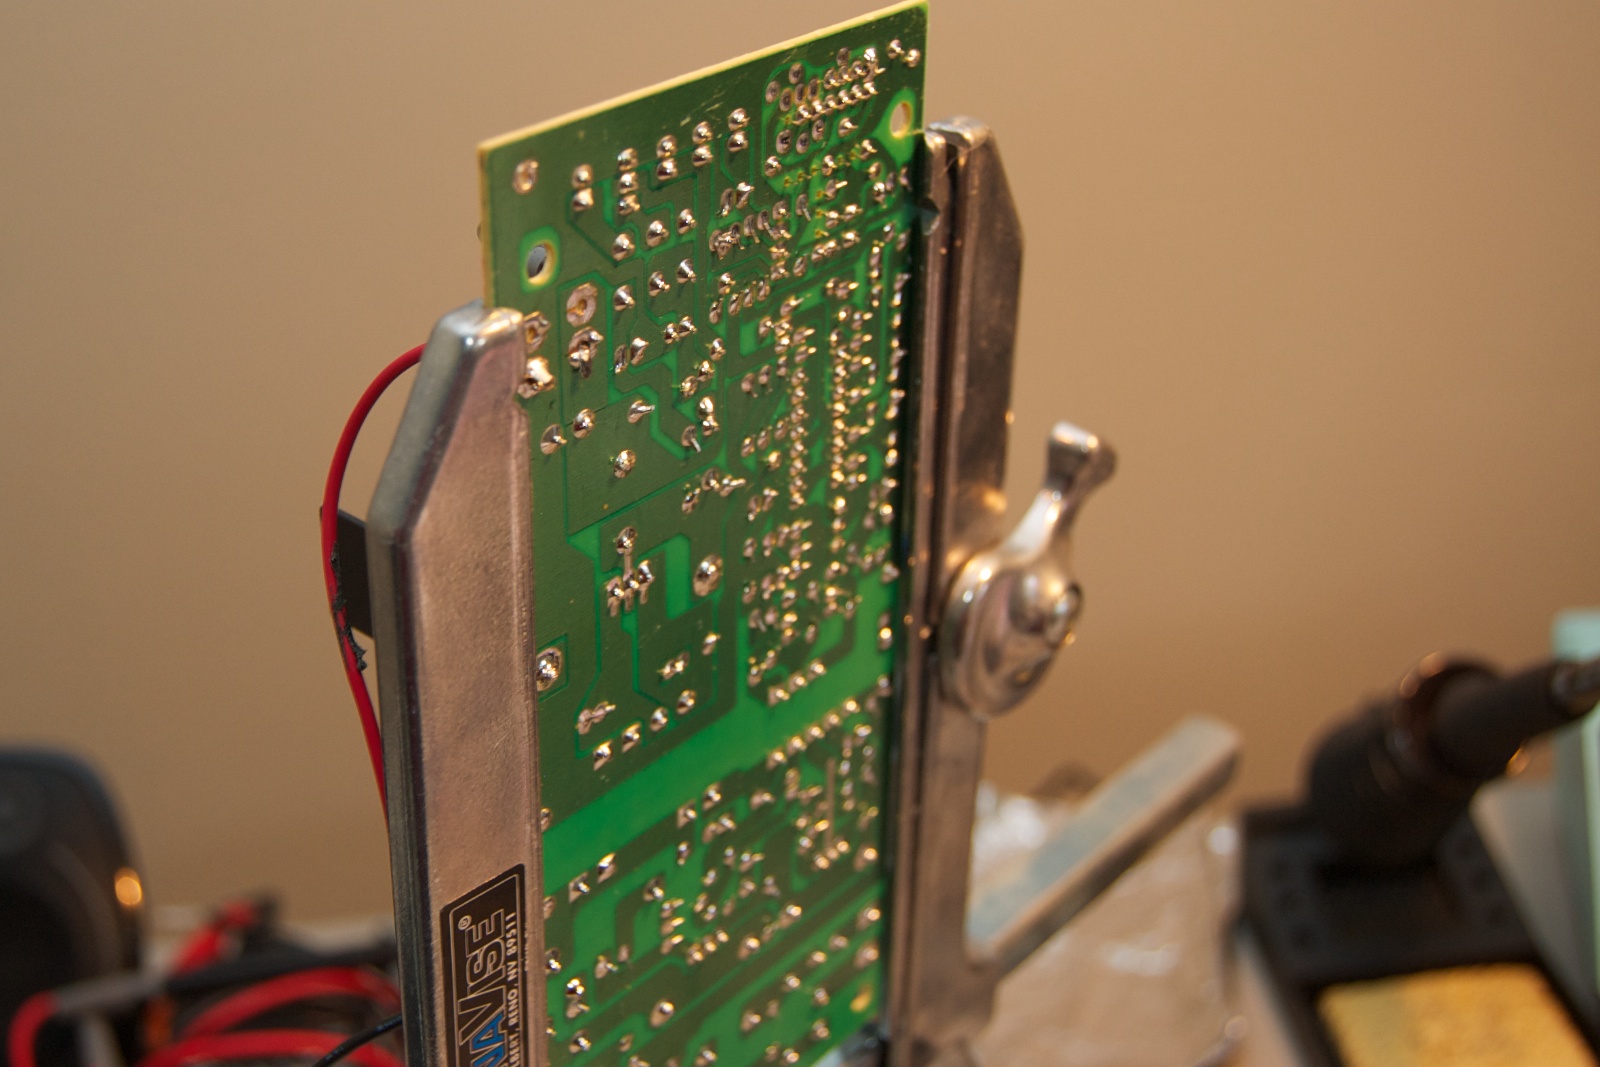
Rather than try to solder the wires in place or remove the Peltier, which is a pain to do, I just clipped off 3-4" of wire to solder to the board, then use wire nuts to reattach the short lengths of wire to the Peltier.
Here's the soldering in action. You really need to be able to solder to do this step, there really isn't any other good way to make this connection. Also, make sure you get the black (ground) and red wires in the correct orientation! You probably won't damage the Peltier, but it will make the inside of the unit hot instead of cold!
Here's the new board back in place. You can see the gray wire nuts on the Peltier wires.
That's it! It really didn't take long, saved quite a bit of money over replacing it, and generated far less trash!